Sunday, November 11, 2012

Rule of Thirds

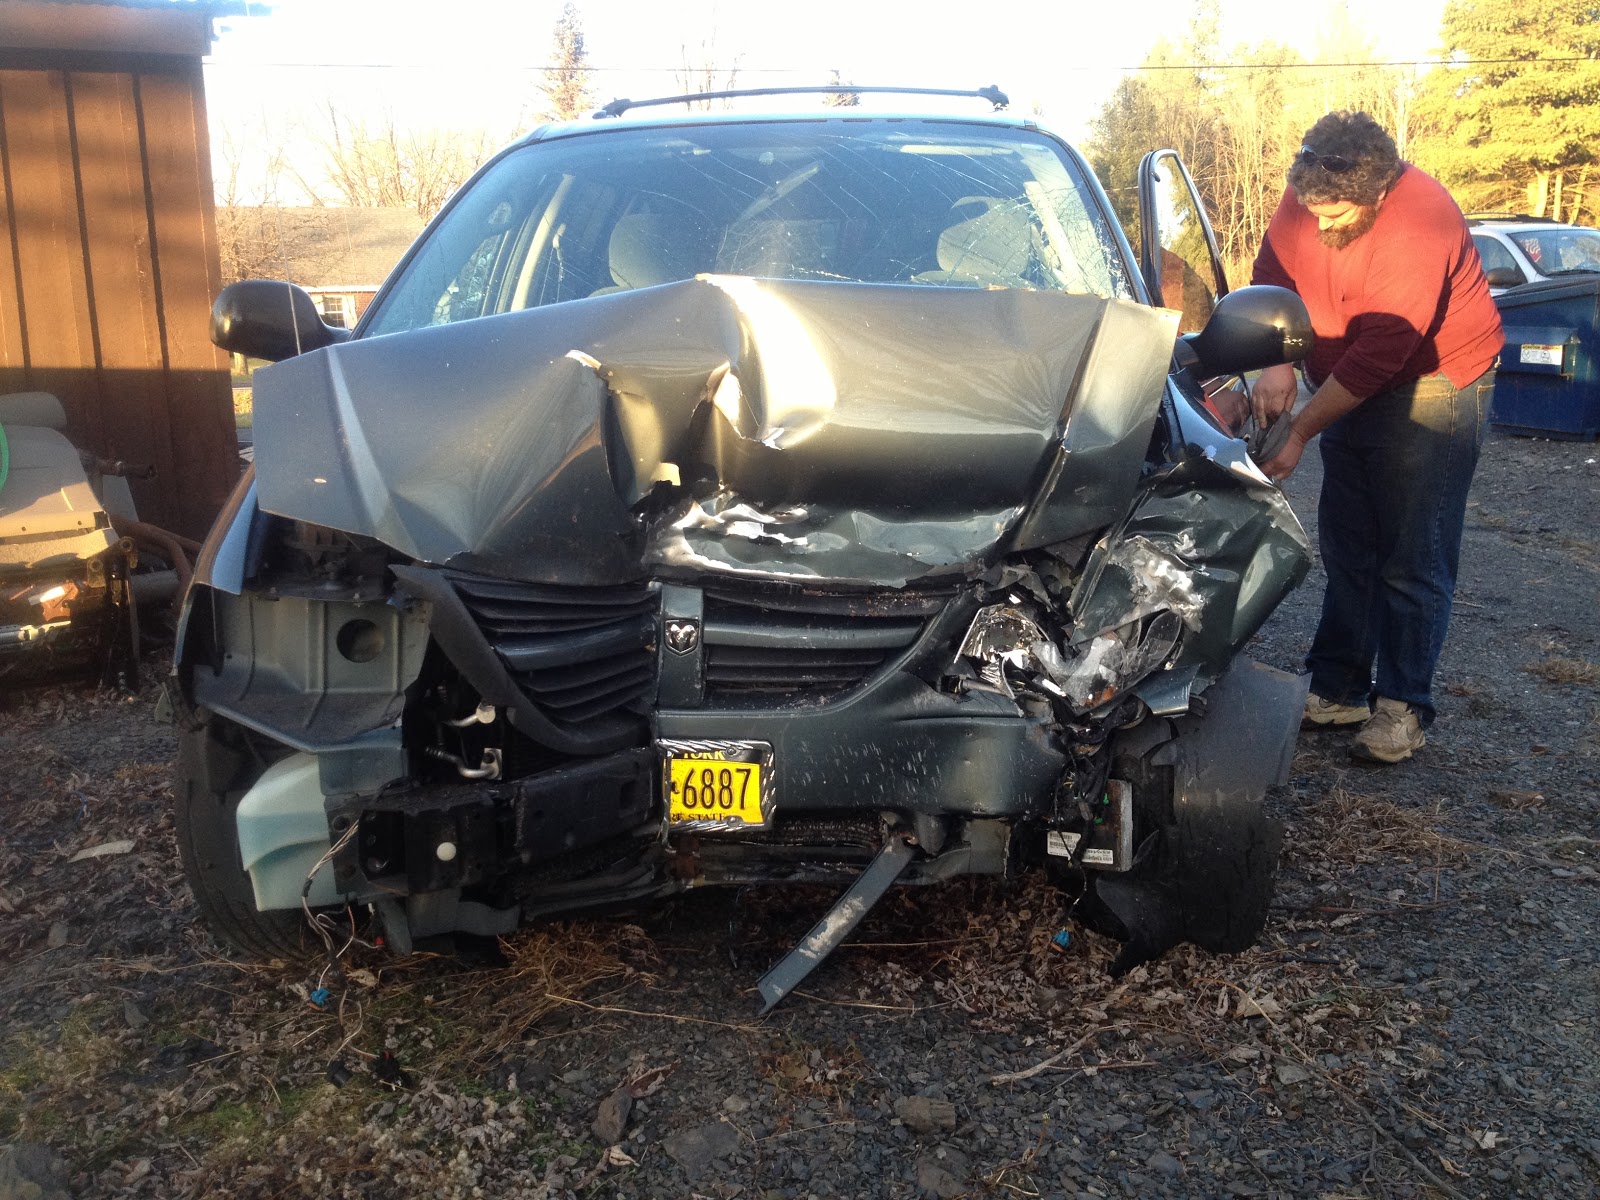
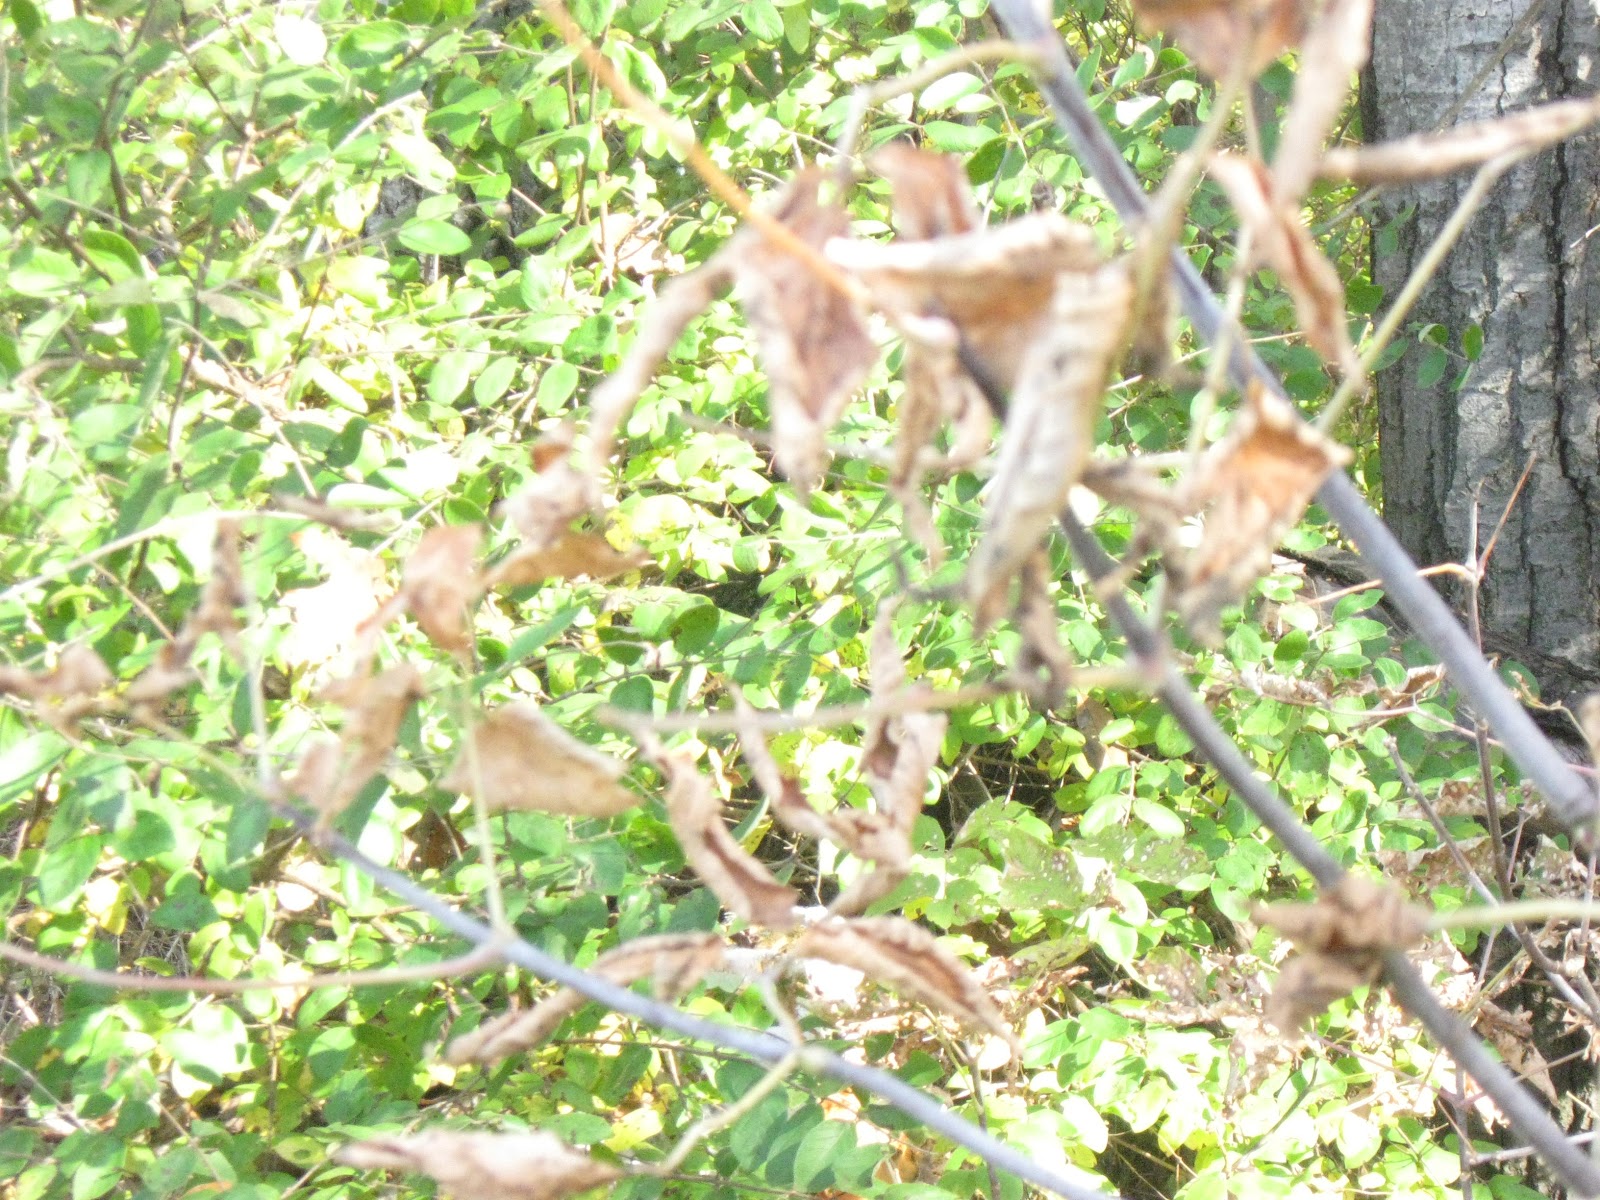
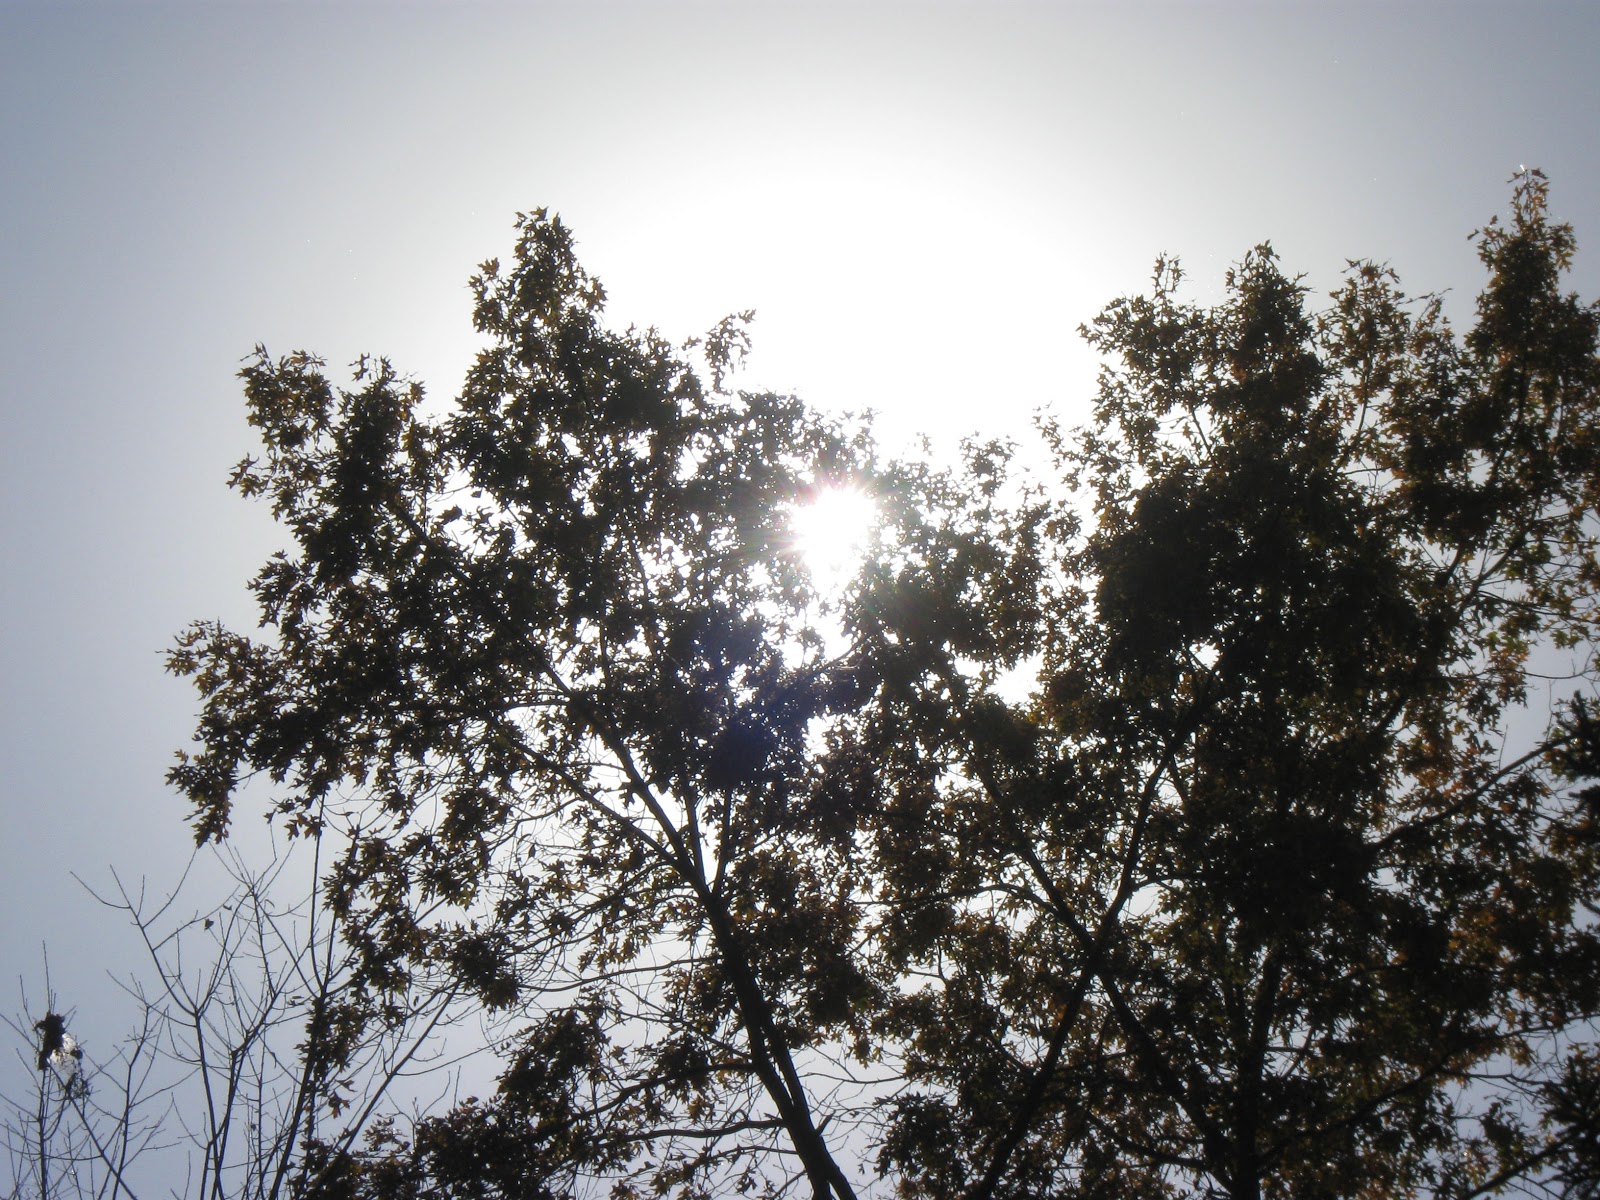
The rule of thirds is not very complicated.  It is a great technique/tool to use especially when you first start out taking photos to make sure that too much isn't going on in them.  Basically what you do is split your photo into 3 row and 3 columns.  There will be 4 intersection points on the "grid".  These points are where you should try to focus the main point of your photo.  This will allow it to have a more natural and balanced look to it.  However you need to know what you want to be the focus point of the interesting spot in your photo before you take it so you can place it correctly within the frame.  The purpose behind doing this is because we as humans have a natural way of viewing photos.  Placing the main point of your picture within these 4 points will allow your viewer to see this photo in a natural way they are used to without trying to decide on their own where they should be focusing their eyes on.  Now of course there are exceptions to every rule.  Maybe you a hoping for an abstract photo, or one that really makes the viewer think about what they are seeing and what they should be looking at.  However in order to effectively take these photos you first need to know how to take photos without tying to do that so when you do go to take a different picture you know how to effectively do that or at least where to start.  For this assignment I am using pictures from my boyfriends car accident to show the difference in a picture when you use the rule of thirds and when you don't.  You will be able to tell which ones follow it because they will be easier to focus on.


Camera Flash

To optimize your flash usage there are a few different techniques you can try using.  First assuming your camera has a built in flash, you should try to get close to the object or objects you are picturing.  This technique will really allow your camera and the flash to really show off what they can do.  The reasoning behind getting closer is because when your flash is built into your camera its power is limited based on what the camera gives it so if you get close then it won't need as much poser to do its job correctly therefore making your photo really stand out.  If you find yourself in a position where you can not get close to the object you are trying to take a picture of then you can also try something different.  You can completely turn the flash off and then turn up your ISO setting.  As you know the ISO setting being turned up will allow more light to come into the picture making the flash unneeded and hopefully giving you the results you were aiming for.  Another technique you could try is sync flash.  I have never heard of or tried this so I can't give you any opinions on the matter.  However, if it is something you think you might want to try basically what you do is adjust our camera to a slower shutter speed and then allow the flash to go off while the shutter is open forcing the light to be flooded into the picture.  Finally you could also try diffusing the flash.  This can  be done a few different ways.  You could buy a diffuser and use that or you could try to make your own.  A few examples are putting semi-opaque ape in front of the flash this will help to diffuse the flash a little bit.  Some people also use something like a white index card and aim it to force the flash in the direction they want it to go and then adjust their exposure to get the photo they way they want it.  In the photos I took I didn't use anything special to control my flash, I was trying to adjust it with the lighting in the room to get a nice picture of our Christmas tree to post on facebook.  It's easy to see that even something as simple adjusting the flash can really change how your picture looks, if not done properly the picture can even come out blurry.


Sunday, October 14, 2012

Lesson Five: Mastering White Balance


White balance is a great setting to adjust and familiarize yourself with.  Depending on the lighting conditions available while you are taking your photos it can change the tone of the entire picture.  White balance is typically used for helping you get the colors in your photo to appear as accurately as you can get them to.  Now most digital cameras have an automatic setting and the camera does this or attempts to do this on its own.  Usually it works, however sometimes the lighting situation it too different for it to fix on its own, this is when you would adjust it based on the situation at hand.  For example, if you are taking a lot of photos under fluorescent lighting then you are going to want to adjust your camera accordingly for this because fluorescent lights tend to make the colors and the overall tone of the photo to appear bluish.  This makes the whole photo look darker and colder. To fix this coloring situation you are going to tell your camera to do the opposite of what is really happening.  You are going to adjust it so that even though it thinks it is already bright enough and wants to tone down the photo it is going to make it brighter this will allow you to get rid of the bluish tone to your photo and brighten it up so the colors look more accurate to what they are. However, if you are working for the day under incandescent lighting then the exact opposite effect with be happening.  You will notice your photos will have a yellowish tone to them, this is going to cause the entire photo to have the yellowish tone making the picture seem brighter warmer and more inviting by nature.  However, if this is not the desired outcome you were hoping for then you are going to want to adjust the white balance setting on your camera.  Again you are going to want to do the opposite of what the camera is doing.  The camera thinks there is not enough light so it is making the picture brighter and in turn distorting the coloring.  You want to tell your camera that there is plenty of lighting and to let in less lighting.  This will allow your photo to tone down away from the yellowish color and back to the natural colors you were hoping to capture in the first place.  Usually white balance is not anything that we have to adjust, most cameras have an automatic setting that will correctly adjust according to the lighting that is present, but there are a few exceptions to every rule!  Finally I have my camera and it is correctly working so I will make sure to post my photos this week for the past few posts and this one so everyone can see and comment if they wish to on my work!

Sunday, October 7, 2012

Lesson Four: Master ISO


The ISO that you set and decide to use determines the amount of noise let into the photo you are about to take.  If you are using a higher ISO setting then when you are taking the photo the light sensors will amplify the amount of light being allowed to come in and this will create a grainy noisy quality to the photo.  However, just like all of the other settings we have learned about and discussed thus far, when used correctly ISO can make a big difference in the photo you are going to take.  Let’s talk about the different settings.  Typically the “normal” or standard setting on a camera is an ISO of 100.  This lower setting allows you to take photos outside in the bright sunlight without too much light being taken in so you won’t have a grainy noisy picture.  If you know that you are going to be spending the day outside at the beach or at the park then you will want to make sure your camera is set to and ISO setting from 200-400.  These settings are the optimal settings for taking pictures in bright light situations.  These settings block out the excess light giving you a clean rain/noise free picture.  Next is an ISO of 800.  This setting you will have to be careful with.  It is a good setting to have and use when you will be taking action shots or are taking photos inside where it is not well lit, however if you are using this setting on a compact camera then you need to be extra careful with your shots.  A compact camera and this setting mixed together will cause noise to be visible within the photo.  This is a useful setting however because it give you a decent exposure setting while allowing you to use a faster shutter speed for action shots.  Maybe you are snapping a photo of you kid sliding into home plate with the game winning run...this setting will help you capture that moment that much better.   There are three more ISO settings to discuss.  First is ISO 1600.  When you get to settings this big it becomes very difficult (and for most cameras almost impossible) to avoid noise in the pictures.  This setting will especially show noise if you are focusing abd zooming in on areas that have a lot of shadows or contrast.  Our last two ISO settings are ISO 3200 and ISO 6400.  Both of these settings are found on high end DSLR cameras and only the best ones will provide you with some sort of useable picture.  ISO 6400 is extremely rare and the few cameras with this setting will still provide pictures that have visible noise in them.  

Sunday, September 30, 2012

Lesson Three: Master Shutter Speed


Shutter speed is extremely valuable and useful to a photographer no matter if you are extremely experienced or do not have much experience at all.  Adjusting your shutter speed allows you to capture those race cars flying by you at one-hundred fifty plus miles an hour in a clean, vibrant crisp way.  Maybe you want to focus more on the speed of the cars rather than the detail they have.  Shutter speed will help you achieve this as well.  If you wanted to capture these images or any images in a clean precise detailed way then you would adjust your camera to a faster shutter speed.  But on the other hand, if you decided you wanted to focus more on the speed or what was passing by or moving around you then you would want to adjust your camera to use a slower shutter speed.  This will give your picture that blurred motion view.  The slower your shutter speed the more motion and movement is shown within the picture.  Typically however, in everyday life a faster shutter speed is used.  This give you a accurate detailed picture no matter what you are photographing.  This also ties in nicely with last weeks lesson on aperture.  If you have a beautiful flower in the foreground you are taking a photo of but the leave in the back ground are taking away from the flower, then not only can you adjust the aperture along with the shutter speed to get the desired effect but the camera automatically does that for you to a certain point.  The camera naturally uses a larger aperture with a faster shutter speed so you can focus more on the foreground and less on the what’s going on in the background.  Neat huh!  Another great perk to using a faster shutter speed (which really helps me personally out) is that if you do not necessarily have the steadiest hands in the world it is not too big of a problem.  A faster speed tends to help eliminate any kind of blurriness you may receive from shaky hands.      In my first post I talked about a wedding I had photographed.  When I was taking these pictures I was using a faster shutter speed to ensure the pictures were as vibrant, clean, crisp, and detailed as possible.  This also took care of my shaky hands problem.  Granted my hands do not shake to terribly bad in some cases with some cameras it is enough to potentially ruin a picture and that would be a shame.  This also allows you to take series of pictures in a row without having to really pause in between.  At the wedding I took probably a series of 10 or so pictures that included before during and after their kiss.  If you took these photos and put them together you would have like a mini flip book!  Unfortunately I may be a little biased on this subject.  I have really only worked with faster shutter speeds.  I don’t have enough tim using slower shutter speeds to even say I have really experienced them.  So when my camera is working properly or I find a replacement one (whichever comes first)  I will be focusing on taking pictures with a slower shutter speed and getting better acquainted with that so I can accurately decide which I like better! 

Sunday, September 23, 2012

Lesson Two: Mastering Aperture

Aperture can really made a big difference in the way a photo turns out.  If you want the viewer to focus on the fore ground then you can adjust the aperture so the back ground is blurred out partially or fully.  If you would like the viewer to focus on the back ground then you an adjust the aperture so the fore ground is also blurred out partially or fully.  This is so helpful in so many real life situations.  For example if you are taking photos of a person and you have the perfect background for them, the light is perfect, colors are wonderful, everything works amazing together but it is a little bit busy then you can adjust the aperture to it is blurred out maybe only a little bit, maybe a lot and then the person you are taking the photos of will become the center focus of the picture.  Another way this would be helpful is if you are a landscape photographer.  Maybe you found the perfect rose to take a picture of but there are a bunch of other ones around it that you do not want in the photo, you adjust your aperture so the one rose you want in the picture is the one in focus and the rest are blurred out and you will be all set.  This will work no matter what you are focusing on, a flower, leave, tree, bug.  It will work well on everything.  In essence you can control what the viewer sees and what you "hide" in a way from them. Another advantage  to doing this is that it will allow you to take more pictures in less time.  Lets say you are a sports photographer and you are taking pictures at a game, whether it is a soccer, football, baseball/softball, basketball, or even a tennis match.  Adjusting you aperture will allow you to take multiple series of photos so you can capture all sorts of action shots and have a wide variety to choose from when it comes time to use them.  If you are at the car races (NASCAR) this setting will also prove to be very helpful.  I have been to races many times, my uncle used to be a driver and even though I do not have any experience using this setting I do know what it is like trying to take pictures of the cars driving by and it becomes so frustrating that eventually you just give up.  If I was old enough to have a camera when he was racing and knew how to use it this well it would have been a much more pleasant photo taking experience!  They say a picture is work a thousand words, but aperture give you a thousand ways to capture that picture.


Unfortunately I am having difficulties uploading my photos at this time but as soon as I get them on here I will post the link to them in a comment.